You built your musician website, and now people visit it. But are those visitors coming back by themselves? Probably not. If you rely only on them remembering your address, you lose chances for sales or returning readers. Email gives you a direct line to keep people coming back. In digital marketing, your email list is something you truly “own.”
This guide shows you step by step how to build an email list that converts well. You’ll learn how to pick tools, write irresistible offers, place forms, and nurture your subscribers.

Why Your Website Needs an Email List
Email vs Social Media: You Don’t Own Your Followers
When you grow followers on Instagram, Facebook, or TikTok, you live under someone else’s rules. A change in algorithm or policy can suddenly shrink your reach. Even if many people like your posts, that does not always mean they see or act on them.
With email, you control everything: when to send, what to send, and to whom. No middleman. Your message goes to people who have already chosen to hear from you.
Email in the Customer Journey
Most visitors are not ready to buy on their first visit. They are in early stages: just learning, comparing, or exploring. Email bridges the gap between “just curious” and “ready to buy.”
With emails, you can:
- Nurture — share helpful content and build trust
- Educate — show your knowledge and solve problems
- Convert — later introduce your product or service when they are ready
Phase 1: The Essential Foundation (Choosing Your Tools)
To build a list, you need the right infrastructure. That means an Email Service Provider (ESP). The ESP handles signups, storing addresses, sending emails, automation, and compliance.
How to Pick an ESP
For beginners, these features matter most:
- Easy-to-use interface
- Automation/drip campaign features
- Good pricing plan (grows with you)
- Compliance with laws like GDPR or CCPA
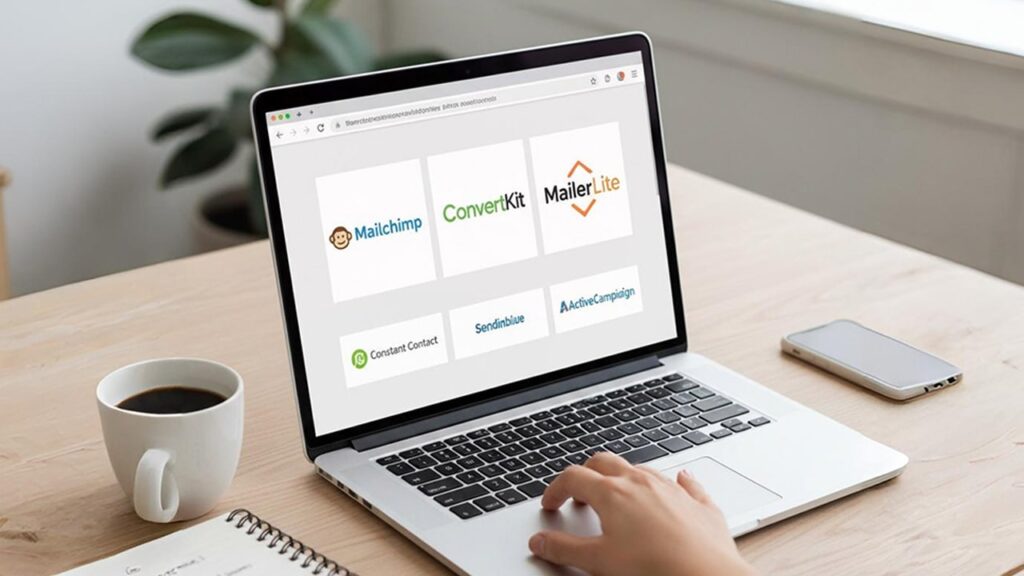
Some ESPs are especially friendly:
| ESP | Best Use Case | Key Feature for Beginners |
|---|---|---|
| Mailchimp | General small businesses | Drag‑and‑drop editor and decent free plan |
| ConvertKit | Bloggers, creators | Tagging and smart segmentation |
| MailerLite | Budget‑conscious users | Simple automation and clean form builder |
Tip: Free plans are nice, but make sure your plan allows you to send a Welcome Email / Welcome Series automatically. If it doesn’t, your growth will be limited.
Integrating Forms with Your Website
After you pick an ESP, link it to your website. If you’re using WordPress, most ESPs have plugins. Or you can use plugins like Elementor or a tool like OptinMonster.
Make sure your forms send subscriber data automatically into your ESP. Also, show a clear privacy notice near the signup box so people know how you’ll use their emails (for data law compliance).
Phase 2: Mastering the Opt‑in Offer (Lead Magnet)

Asking people to “subscribe to our newsletter” is weak. It gives no reason. It leads to low signup rates. Instead, give something valuable in return for their email. That’s a lead magnet.
What Makes a Lead Magnet Good?
Your lead magnet should:
- Solve one specific problem — don’t try to solve everything
- Give instant value — something they can use right away
- Appear valuable — they feel they got something worth it
If done right, a lead magnet can raise conversion rates from 1–2 % to 5–10 % (or more).
Five Lead Magnet Ideas
These work in almost any niche:
- Checklists / Cheat Sheets — short steps to do one thing
- Templates — ready‑made files (like email script, budget sheet)
- Resource Library — a page with several freebies inside
- Mini‑Course — a short sequence of emails (3‑5 days)
- Exclusive Video — a private tutorial or insight
Pick one that fits your audience best, then build it well.
Phase 3: High‑Converting Form Placement & Design

You now have your ESP and your lead magnet. Next, you must place forms where people will actually see and use them—without annoying them.
Four Powerful Form Placements
| Placement | Pros | Cons |
|---|---|---|
| Inline / After Content | For people who read your article to the end | Only reaches very engaged readers |
| Exit‑Intent Pop‑up | Catches people ready to leave | It can be annoying if it appears too early or too often |
| Content Upgrade | Very relevant and converts high | You need a unique bonus specific to that article |
| Dedicated Landing Page | Focused and clean for campaigns | You must drive traffic there separately |
Content upgrades (form inside or linked within related content) often deliver the best results, because they match what the reader is already reading.
Writing a Better CTA (Call to Action)
Your button or CTA should stress the benefit, not just the action.
| Weak CTA | Strong CTA |
|---|---|
| Subscribe Now | Send Me the Free 5‑Point Checklist |
| Download | Unlock My Exclusive Template |
| Sign Up | Start the 7‑Day Email Course |
People respond better when they see what they gain.
Phase 4: Nurture & Growth with Advanced Tactics
Getting subscribers is just step one. The real value comes from how you treat them after they sign up.
Using Segmentation
Segmentation means dividing your list into smaller groups based on what they like or do. This helps you send more relevant content. More relevancy means more opens, clicks, and trust.
Example: Suppose you run a fitness brand. You might have three lead magnets: “Beginner Weight Loss,” “Intermediate Workouts,” and “Nutrition Guide.” You can tag subscribers by the magnet they chose, then send emails tailored to each group.
Building a Welcome Series
A good Welcome Series (3‑5 emails) does more than just send the free lead magnet. It helps turn new signups into fans.
Here’s a simple outline:
- Email 1: Deliver the lead magnet + say thank you + invite reply
- Email 2: Share your story — who you are and why you do this
- Email 3: Offer your best content or flagship free resource
- Email 4: Introduce your core product or service
- (Optional) Email 5: Reminder, FAQ, or social proof
Send these automatically as soon as a new subscriber signs up.
Keeping Your List Healthy
Big list numbers mean little if most people ignore you. “Inactive” subscribers hurt your deliverability (email providers penalize unused addresses).
Every 6‑12 months, clean your list by removing those who haven’t opened or clicked for a long time. This improves your open rates, reduces costs, and keeps you focused on active readers.
Putting It All Together: Quick Roadmap
Let’s summarize your action steps:
- Choose an ESP (Mailchimp, ConvertKit, or MailerLite)
- Connect opt‑in forms properly to your ESP
- Create a lead magnet that is specific and valuable
- Place your forms smartly (inline, pop‑ups, content upgrades, landing pages)
- Use CTAs that stress the benefit
- Build a 3‑5 email Welcome Series
- Segment your list for better relevance
- Clean your list periodically
Final Thoughts
Building a high‑converting email list is not magic. It requires planning, testing, and care. But once you have that list, it becomes your most powerful tool. It lets you reach people directly, nurture relationships, and grow your business or blog over time.
Don’t wait. Pick your ESP today. Brainstorm one strong lead magnet. Start small, test, learn, improve. Over weeks and months, your list will grow. And with it, your opportunities.
You can do this. Let me know if you want help choosing an ESP, writing a lead magnet, or designing your Welcome Series next.